Setting up TailwindCSS with React + Vite
Setup tailwindcss in vite + react js project.

Overview
In this blog, I will be going to show you how to set up tailwindcss in react js + vite project. Follow the step-by-step instruction.
Step 1: Create a React Js project with Vite js
Create an empty react js project with vite js.
$ npm create vite@latest
Need to install the following packages:
  create-vite@4.2.0
Ok to proceed? (y)
Proceed with (y) by pressing y on your keyboard, and simply answering the questions.
Project name: tailwindcss-demo
? Select a framework: › - Use arrow-keys. Return to submit.
    Vanilla
    Vue
❯   React
    Preact
    Lit
    Svelte
    Others
? Select a variant: › - Use arrow-keys. Return to submit.
❯   JavaScript
    TypeScript
    JavaScript + SWC
    TypeScript + SWC
Now you have to cd to the created directory in my case, it is tailwindcss-demo and runs the command npm install
cd tailwindcss-demo
npm install
Open tailwindcss-demo folder in your favorite editor. your folder structure looks like this.

Step 2: Install TailwindCSS in your react js project
In this step, you can simply copy-paste the command or visit https://tailwindcss.com/docs/guides/vite
note: It's a great habit to read the doc.
Run the below command within the same folder that you created. In my case it was tailwindcss-demo
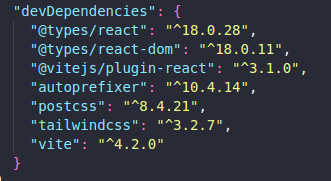
Install the dependencies. (tailwindcss, postcss, autoprefixer)
npm install -D tailwindcss postcss autoprefixerCheck the package.json file for the installed dependencies.
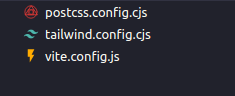
After installing the dependencies initialize the tailwind configuration.
npx tailwindcss init -pHere is what you can see after running the above command.
Copy-paste the configuration to your
tailwind.config.cjsfile/** @type {import('tailwindcss').Config} */ module.exports = { content: ["./index.html", "./src/**/*.{js,ts,jsx,tsx}"], theme: { extend: {}, }, plugins: [], };Copy-paste these base styling to
src/index.cssfile- Remove everything from the
index.cssfile and update the file with the below code.
- Remove everything from the
    @tailwind base;
    @tailwind components;
    @tailwind utilities;
Now make some changes within
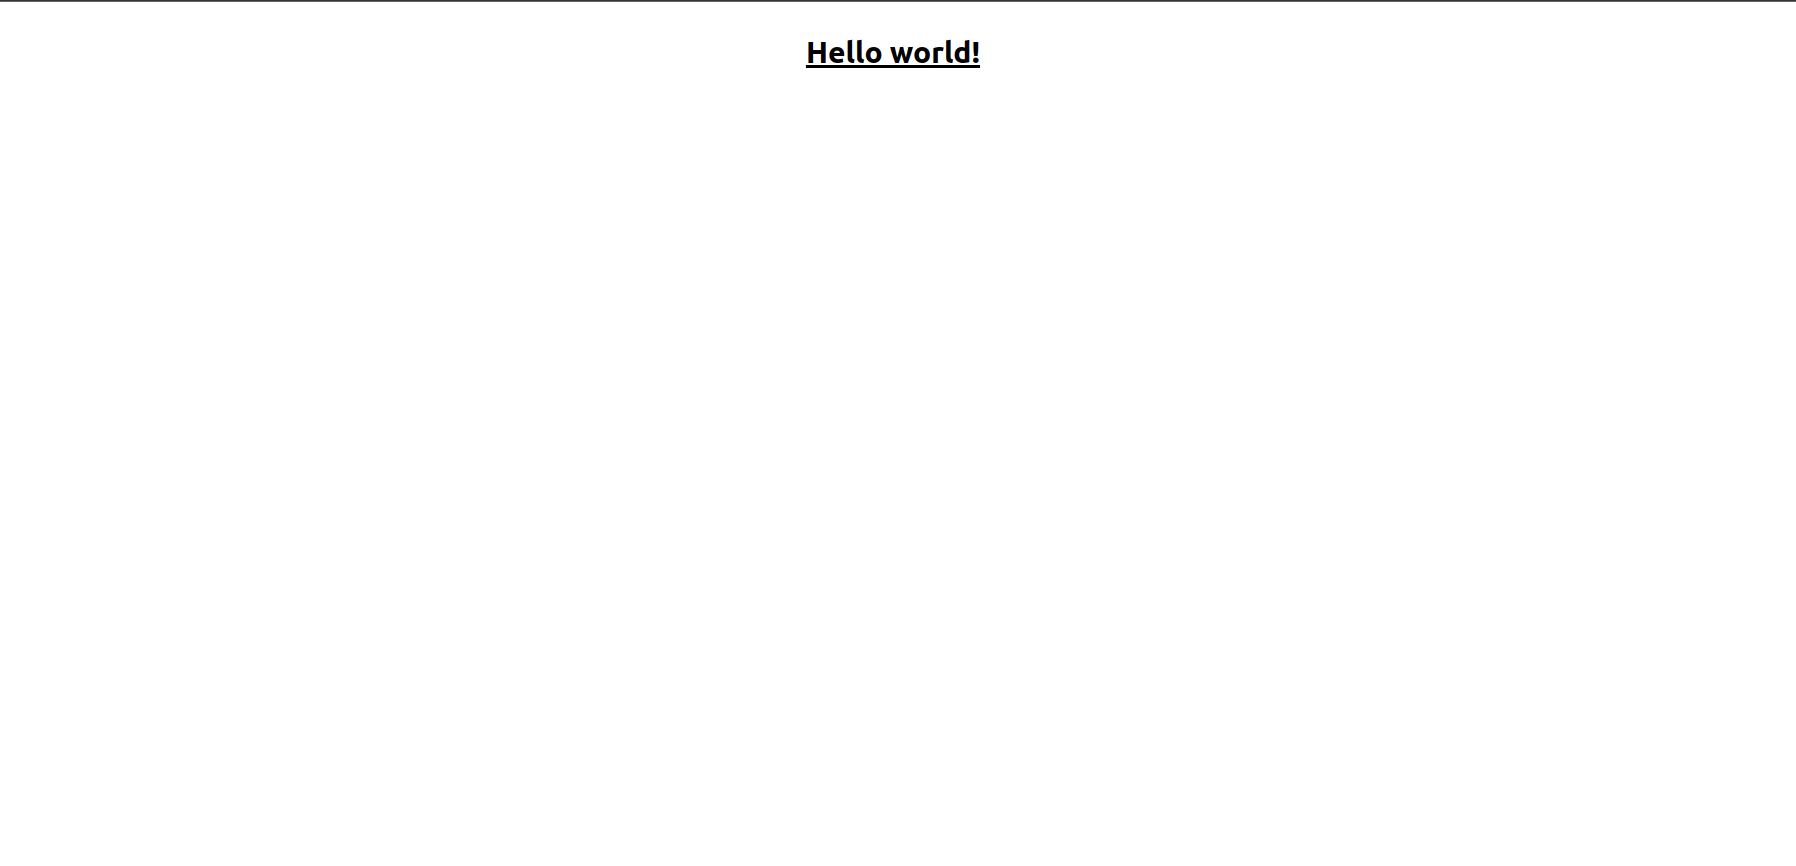
App.jsxfileimport "./App.css"; function App() { return ( <div className="App"> <h1 className="text-3xl font-bold underline">Hello world!</h1> </div> ); } export default App;Run the dev server
Head first to your terminal and type the below command, make sure you are in the same folder location, in my case my terminal opens at the location
tailwindcss-demonpm run dev
See your result: 🎉🎉
Thanks for reading...
